Saturday, June 30, 2012

Pop-up shade hood for GoPro LCD backpack

This 3" Pop-up shade hood retails for $9.76 on eBay with free shipping in North America.  It almost perfectly fits the GoPro camera, and makes the LCD screen more easily visible in bright daylight.
It weighs only 58 grams, and is 7 x 5.6 x 1cm / 2.7" x 2.2" x 0.4"(L*W*T)  It comes with two removable, adhesive-backed, magnetic strips.  Attach by removing the protective backing from the TOP magnet, and press the shade hood to the back of the camera backpack.  Carefully pull the shade hood away from the camera, and the magnetic strip will remain semi-permanently fixed to the back of the GoPro housing. 
ONLY ONE MAGNET STRIP WILL FIT, BUT HOOD WILL COVER ENTIRE BACK OF CAMERA
The shade hood can be removed and reattached to the single top magnetic strip, and will remain there under light/average wind/vibration conditions. 
PERFECTLY COVERS GOPRO'S LCD AREA IF YOU USE ONE
TOTAL SUN SHADING ON 4 SIDES
LOW-PROFILE WHEN CLOSED
It will also fit nicely on the 2.5" LCD monitor reviewed in a prior post, which will interface nicely with the GoPro.  I like this monitor, as I feel it has certain advantages over the LCD backpack, including having its own independent battery source as opposed to leeching the GoPro's battery.
If your eyes are crapping out on you, you might find this 3" shade hood to be a useful alternative.  I keep one on a lanyard around my neck, and often use it to help me use my iPhone as a camera, when I'm not wearing reading glasses.  It has the advantages of a shade hood, with a built in 3 X power lens.


It cost me $13.75 including shipping from seller - greatfoto, but there are multiple other sellers of this item on eBay.

Thursday, June 28, 2012

Op-Core FAST helmet for PPG


                OPS-CORE BASE JUMP          
This Ops-Core helmet is one version of what the newest generation of military helmets are looking like.  USSOC just bought 5 million dollars worth of Ops-Core ballistic helmets for Special Operations troops.  


The company also makes a lightweight helmet designed for sport use, called the Base Jump Sport.  It retails for $203.00.  ($215.00 with shipping and handling.)  The factory is seriously back-ordered, however, and you can expect to wait for as long as six months for your helmet to be shipped out! Their website says 12 weeks for most orders, however, after 14 weeks when I asked for an ETA on my order, I was told that it would be another 8 to 10 weeks on top of that.  My expected delivery date won't be until late September of 2012.

Ops-Core Base Jump Sport  - $203.00
There is also a military version of the Base Jump Sport, the main difference being in the chin strap, with the "Military" being a bit more secure, while the "Sport" chinstrap is a little more comfortable.  

Ops-Core Base Jump Military  $239.00
These lids offer unsurpassed stability and fit, due to the ability to custom order both the helmet, and retention straps, and also the use of a OCC-Dial for final adjustment.  Ops-Core claims 4 times more helmet stability than other ACH helmets, with their Head-Loc Military strap. 
You start by measuring the circumference of your dome along it's equatorial axis, as it were, and follow with a measurement roughly pole to pole. Then you order the appropriate helmet/strap combination.  The company rather amusingly shows a comparison of head shapes with a diagram of Ernie and Bert gone tactical.
The helmets are made of an injection-molded polymer (30% glass-filled Nylon), for an extremely rigid structure, with none of the bending or warping often found in other polymer "skater" type helmets.

They incorporate a low profile, non-snag, Accessory Rail System (ARC) to mount lights, Peltor communication headsets, video cameras, (Contour and V.I.O. POV cams) strobes, battery packs, clips for eye protection and goggles, and a front base shroud for NVG devices, drop-down visors, or a GoPro camera.  Or my NVG Monitor System in my post: NVG monitor mount  (Which will also work with a cabled GoPro LCD backpack monitor).

The Military version of the Sport, (Not available in red) also has tiny bungee cords integrated into the Night Vision Goggle (NVG) mount, to help stabilize and support NVG when utilized, but while the Sport can accept the bungees, they are not included.  The bungees actually created a tangle hazard for me while kiting a paraglider, and also got caught up while I was removing a set of goggles.  Some people might want to remove them altogether for these reasons.

The final difference between the mil and sport version is that the mil version comes with an extra rail adaptor, for Picatinny mountable devices) but these and other rail adaptors are available from Ops-core as well as from Airsoft suppliers. 

All the helmets in this series, are designed with a high-cut around the ears to allow for Peltor communications headsets to be used.  There is room for headbands to fit under the helmet, or special Peltor adapters can be mounted to the ARC rail, as shown below.
Peltor ARC Rail Adaptor and a Picatinny Rail Mount
I bought an adapter direct from a Peltor supplier for $37.95.  http://www.apdmro.com/3M-Peltor-ARC-p/70071612389.htm The adapter allows my NAC communication headphones to be flipped up away from my ears, or completely swing back out of the way, and helmet and phones all come off my bean together.  They'll accept any Peltor headphones you like, NAC, Bluetooth, Powercom, or just standard Peltor Ear Defender styles, all just by just snapping them on or off.

Airsoft copies of these adapters cost about 20 bucks on ebay, but I've recently had an opportunity to compare them side by side with authentic Peltor adapters, and the Chinese knockoffs are junk.  A friend was having trouble with a pair, and he sent them to me to see if I could see what was wrong.  What's wrong, is that they are substandard copies, not as robust as the originals, and slightly wonky in terms of fit.   Too bad.

I include a modification at the end of this post, to show how these knockoff adapters can be made to work, however, and also a link to adapt Peltor sound protection earmuffs, of the style used for attachment to construction helmets.  

UPDATE:  Crye Precision, a US military supplier of MilSpec gear has come up with an inexpensive set of adapters for their military helmets, that also work on Ops Core lids.   They cost a mere $8.95 plus shipping, and work great.  So if all you want is ear protection, get a pair of hard hat Peltor muffs, and integrate the Cry adapters, and you are good to go. Check them out here: http://cryeprecision.com/Item_Detail.aspx?ItemCode=ACCPA100000&title=Airframe%25u00e2%25u201e%25u00a2-Peltor%25u00e2%25u201e%25u00a2-Adapter-Set
Ops-Core Fast Base Jump helmets, decked out with Princeton Tec Quad-Nod Kits and MPLS, featured in "The Avengers" 2012

 AIRSOFT REPLICA VERSION(S)
There are already Airsoft versions of these helmets available at a fraction of the price.  The plastic versions, sell for as low as $59.00 with free shipping, but I couldn't resist having a look at the ones claiming to be carbon fiber, which was sent to me with shipping included for $98.00.

It wasn't actually carbon of course - it appears to be ABS.  But it was very solid ABS, a full 1/8" thick, and then a closed-cell foam layer at the front with positionable pads at the top and sides. The adjustable OCC-Dial system seems solid and providing further adjustment and fitting fine tuning.  overall feel of the thing compares favorably - vastly superior in fact - to the fit and feel of my old NAC flying helmet, and all the bike helmets I have ever owned.


While it can't lay claim to the same OHS safety standards, (Some Airsoft gear can be trusted, and some can't) comparing this helmet to others I have worn, I believe this helmet would pass anything any underwriters lab could reasonably throw at it.  With the usual disclaimers of caveat emptor and "this is opinion only," etc." I think in this instance you are getting a  pretty good quality helmet for only 100 bucks.  But if you're really concerned about the lack of actual CE EN testing standards for the copy, I recommend the Ops-Core Base Jump Sport as being only 100 dollars more, and you are also supporting American business.  


But as far as safety is concerned, I am quite comfortable flying the "Carbon" copy. 

And did I mention that they're way cool looking?


Post-Script - Just a few more words to help distinguish between the two Airsoft versions of these helmets: there is a lightweight plastic Airsoft version which I have thus far not seen close-up, and the seemingly more robust, "carbon" versions that I did get my hands on.  


The so-called "carbon" ones are actually copies of the Ops-Core Carbon, a lightweight, carbon fibre version of the Ops-Core ballistic, but designed for things like recon, mountaineering, and fast rope ops. 


Ops-Core FAST Carbon Helmet  $593.00

The first indicator is price.  The heavier ones are more expensive, typically running in the $89 - $115 dollar range.  They have oval shaped vent holes, and extra Velcro on the top and back.  Also, they have a more visibly pebbled surface texture, as opposed to the shinier look of the lighter Base Jump copied version.
The lightweight copies of the Base Jump, have the Base Jump's somewhat more angular shaped diamond vent holes as seen below.
Original Ops-Core Base-Jump with Picatinny rail adapter, (side) and QD Night Vision Goggles cover
Authentic Ops-Core Base Jump models have molded VAS shrouds, (as seen in the tan model above) and the Carbon and Balistic have screw-on, removable ones. The Airsoft Carbon helmet version has a removable (pop-riveted) VAS cover shroud, (seen two photos up incorporating my DIY GoPro NVG mount) but some of the latest lightweight copies also appear to have molded shrouds.  In other words, the lightweight version, may have either style of shroud.

The carbon version that I purchased was from seller tokyo2k, and is still selling as of June, 2012, if that helps.

I have yet to see one of the lighter grade copies up close, so I'm not able to comment on their suitability for any sporting activity beyond Airsoft, however.


MODIFICATIONS: (SO FAR)
DIY DECK SET.  An after-market military supply contractor put out a product that allows the user to weave a thin bungee/shock cord through the vent holes.  One purpose is to better manage battery cables and communication/AV wiring on the exterior of these helmets.  They charge just under twenty dollars, but an Airsoft company already has a knockoff set on the market for five or six bucks.  Still, its just a length of bungee cord, with a couple of sewn loops of webbing...

I tried making my own, of course, weaving 1/8" shock cord through the holes, but decided immediatley that the system was over-complicted.  Here is a link to the "War Bungee" installation guide: http://www.warsport-us.com/War_Bungee_Install_Instr.html  I decided that a perfectly workable, but simplified system could be made from short lengths between each hole, simple loops formed at a level of stretch that I liked, and then stitched up with nylon thread.   The rough side is slid to be on the inside of the helmet, and fit between the helmet pads.  Alternatively, loops could go from side vent to side vent, along the forward axis of the helmet. 
 
Shock Cord sewn loops
COUNTERWEIGHT THE BACK  The "carbon copy" I own, has a strip of Velcro at the back, where I attached a small nylon pouch.  Ops-Core makes a pouch to carry counter-weights to balance the weight of an NVG array on the front.  I just like to carry a few things, like cables, and various GoPro accessories.  And counterweights if I'm deploying my NVG monitor set up. 
Counterweight pouch
FLEECE CHIN STRAP:  Ops-Core sell these for only 4 dollars, and are included with the Base Jump Sport.
My Carbon copy, had the military chin strap, which I didn't like.  So I cut off the upper of the two  split-chin straps, and sewed on a tube of soft fleece around the strip of nylon webbing that goes under my chin. 

PUT A NAME IN IT:  I label everything that I take up into the air with me.  Remember that helmets sometimes come off in flight if you forget to do them up, and I've seen that happen more than once. 

ADAPTING REPLICA PELTOR HEADPHONE ADAPTERS:  I do recommend buying real adapters.  The copies are not Milspec.  Firstly, the wires were wonky.  They are designed to be able to allow the headphones to be pulled away from the ears with one click, and then snap down snugly again with another click.  But on the pair I looked at, only one side worked.  This was rectified by pulling the wires out a little, to reset them at a better angle.  Fairly simple.  Trouble was, when I tried this, when the phones were attached to the helmet, the knockoff adapters pulled right off the helmet!  Not exactly Milspec, it appears.  They can be made to work, however.

Someone on YouTube successfully modified a set of "hard-hat" Peltor adapters of the type used to attach earmuffs to construction helmets.  He shows how to attach them to the ARC rails in what looks like a useable way in this video, called: “How To: Ops-Core/Comtac II ARC Rail Attachment”  http://www.youtube.com/watch?v=1U8j0pKJG1A
I haven't tried it, but using his technique may be a viable alternative if you’re on a budget. You can order sound proof earmuffs with these style of adapters right from the get go.

I modified his technique a little to make the Peltor knockoffs work, by more solidly attaching the knockoff ARC adapters to the rails, using a drill and a pair of ½” 8-32 round-head machine screws and bolts.  I simply drilled an 11/64 hole into the base, thusly.
Then I removed the front mounting screw on the ARC rail, and fit the bolt underneath.   I used the existing slots in the rails, but another 11/64 hole could be drilled into any point of the rail as required, for fine-tuning adjustments.

 In the picture above, the 1/2" screw is the right length to go through the adapter base, and protrude enough into the rearmost vertical slot in the ARC rail to allow for a nut to be attached.  The adapter base is now very securely attached to the rail.

Easier still is to pick up the newly introduced adapters from Crye Precision, (mentioned above) and integrate them with the hard hat style Peltor headsets.  (Less than 15 bucks on Amazon.) Together, they are cheaper than a set of knockoffs from Asia, and are guaranteed to work.

OVERVIEW
I'll so a side-by-side comparison with the Ops-Core Base Jump Sport when it finally arrives in another few weeks.  For now, I'm quite happy with the so called ABS "Carbon". 
Most helmets, I can't wait to get them off my head.  This one, not so much, and often I'll even forget that I'm wearing it.

Even without the underwriter's certification, I'm not sweating the safety potential of the heavier version of the offshore knockoffs, and I wouldn't be surprised if I keep flying with it and pass the Ops-Core original along to someone else.   We'll have to see.


http://www.youtube.com/watch?v=1U8j0pKJG1A

Wednesday, June 27, 2012

Do-It-Yourself GoPro NVG Mount


                                            PROJECT 1
               Do-it-yourself NVG Quick-Release Mount-  $7.95
This is GoPro's NVG Quick-release mount - $24.95 to $45.95
GoPro makes a mount which fits into a night vision receiver plate found on police and military helmets, including the Sport version of the Ops-Core FAST helmet, which I use for PPG.
I've seen them for sell as low as 24 dollars and as high as 45 with shipping/local tax on top of that. But you can make one yourself that works as well, and in fact has certain advantages over the one GoPro makes.  Total cost about $7.95 inclusive. Video link here: http://www.youtube.com/watch?v=wZI6fdlHjEo

You need an NVG QD cover plate, (a universal adapter to integrate various, newer NVG styles to the most common mount, the venerable old-style US Army Rhino Mount.  
The chances are, that if you have a helmet with an NVG mounting plate already, then you already have one of these things.  If not, you can order a replica QD cover plate from one of the airsoft companies that abound on the internet. Try ebairsoft.   http://www.ebairsoft.com/cover-mount-p-5023.html

You'll also get one of these plates if you order an Ops-Core Base Jump helmet, and they are also included with some of the replica version FAST helmet knockoffs. See my review of the Ops-Core helmet here: 

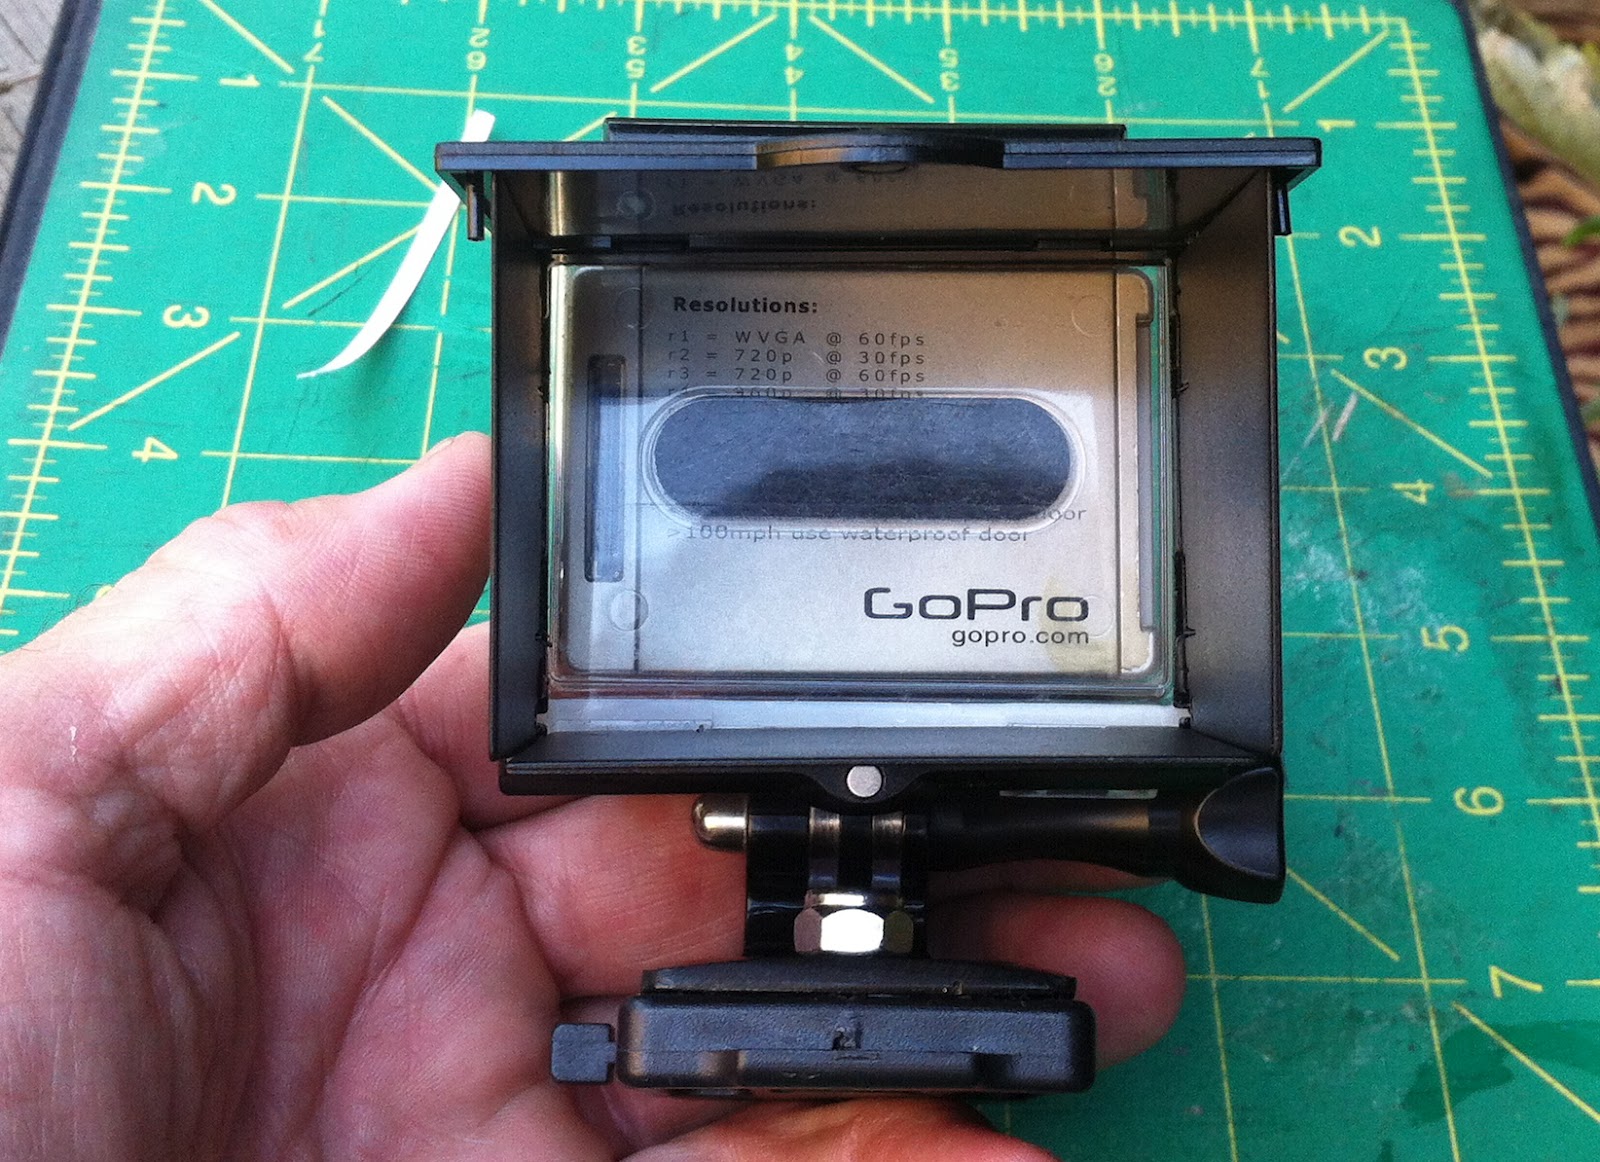
These replica Universal QD Plates, are designed for lightweight, dummy/replica, Airsoft NVG devices, but are more than robust enough to carry a GoPro camera.  I just stuck on a standard GoPro flat mount and that was that.  Because I don't trust the adhesive 100%, I backed it up with a countersunk #8 machine screw.
Now, why do I think that this an improvement over the Factory GoPro mount?  Apart from being less expensive, it's because I, (like a lot of other people I suspect) keep the camera more-or-less permanently attached to a J-hook buckle.  So it is the work of an instant to slip it out of one curved helmet mount, and into one on another helmet, or onto a tripod adapter plate, or a different adaptor plate on the end of my telescoping boom pole.

With GoPro's version, I'd have to unscrew the thumb turn post to change from one shooting platform to another.

NOTE: This mount will only work with the camera attached to the J-hook, and not the shorter quick-release buckle, as that one won't let the camera fold back far enough.
                                    Do-it-yourself NVG Quick-Release Mount-  $0 - $7.95


                                         PROJECT 2
                Home Brew NVG Not-So-Quick Release Mount-  $0 
Is your only flat mount being utilized somewhere else?  Another mount option, uses the more-or-less useless head strap mount that came with my GoPro helmet series.

I refer to the mount attached to the stretch nylon straps that let you attach the camera to one's bare head.  And I say useless, because I can't think of any activity worthy of being filmed with an action camera, that wouldn't be better off being filmed while wearing a helmet.

So I had no compunction about cannibalizing the thing thusly:
I carved it up with a cutting wheel on a Dremel tool.  The resulting plate has a concave curve to match the contours of a person's skull, or perhaps a borrowed helmet.  But it was simple enough to flatten it out a little.  Use the flat of a grinding wheel, or just spend a few minutes rubbing it against a piece of sandpaper.
I then drilled a hole through the mount and another black QD mount cover, and used a bolt and a Posi-lock nut to mate them together.  The nut will hold the thing pretty firmly by itself, but you can also use a little epoxy.  Not epoxy alone, however, as these plastics don't really like glue.  Epoxy, Gorilla Glue, J-B Weld, Industrial Contact-Cement... they'll add stability and support, but don't trust them alone.